Crucial Tools and Strategies for Specialist Plastering at Home
Crucial Tools and Strategies for Specialist Plastering at Home
Blog Article
A Comprehensive Guide to Learning Plastering Abilities for Your Remodelling Requirements
Essential Devices and Materials
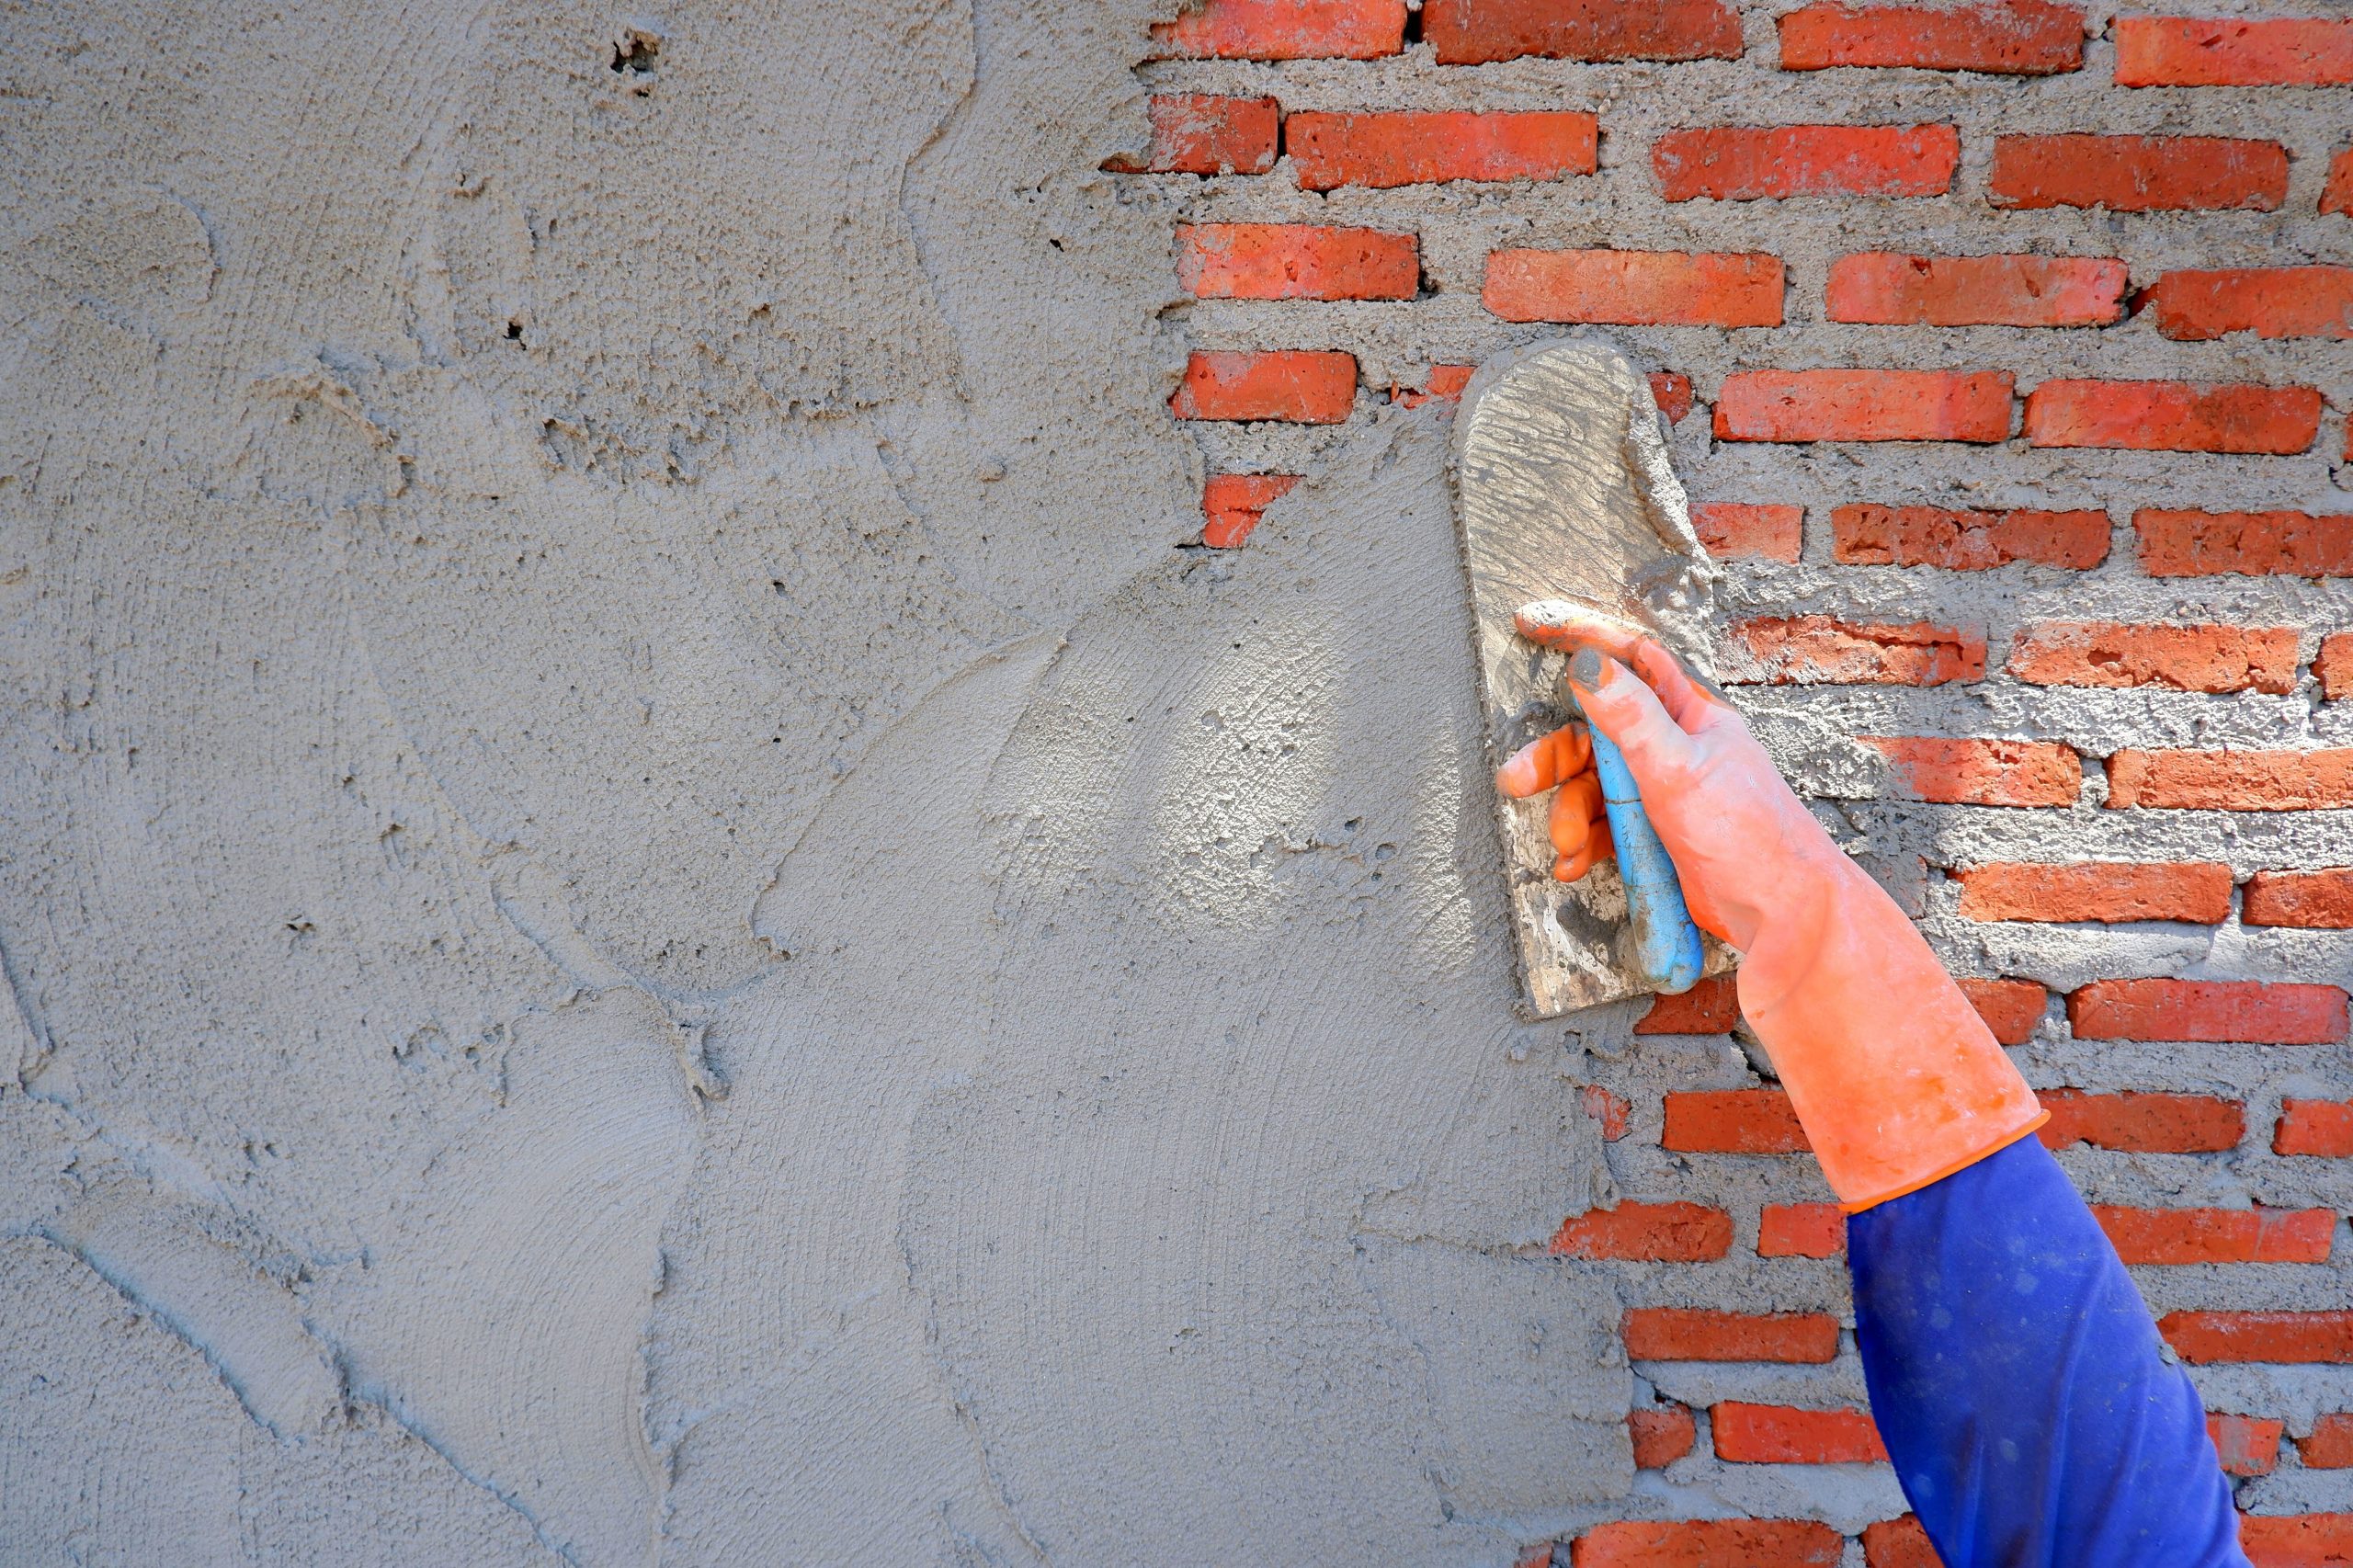
Different crucial devices serve distinctive functions, making certain performance and precision throughout the smudging procedure. A premium trowel, for circumstances, is vital for applying and smoothing plaster, while a hawk offers a secure platform for holding the product.
Along with tools, selecting the right plastering products is important. Gypsum-based plasters are generally preferred for their flexibility and ease of use, while cement-based alternatives are suitable for outside applications as a result of their durability. Water and bonding agents play significant duties in attaining correct uniformity and attachment, guaranteeing that the plaster sticks effectively to the surface.
Additionally, safety equipment such as gloves, goggles, and masks is important to guard against dust and inflammation throughout the application process. By constructing the best combination of products and tools, plasterers can enhance their ability and create high-grade surfaces, ultimately raising the general craftsmanship of their job.
Preparing Surfaces for Plastering
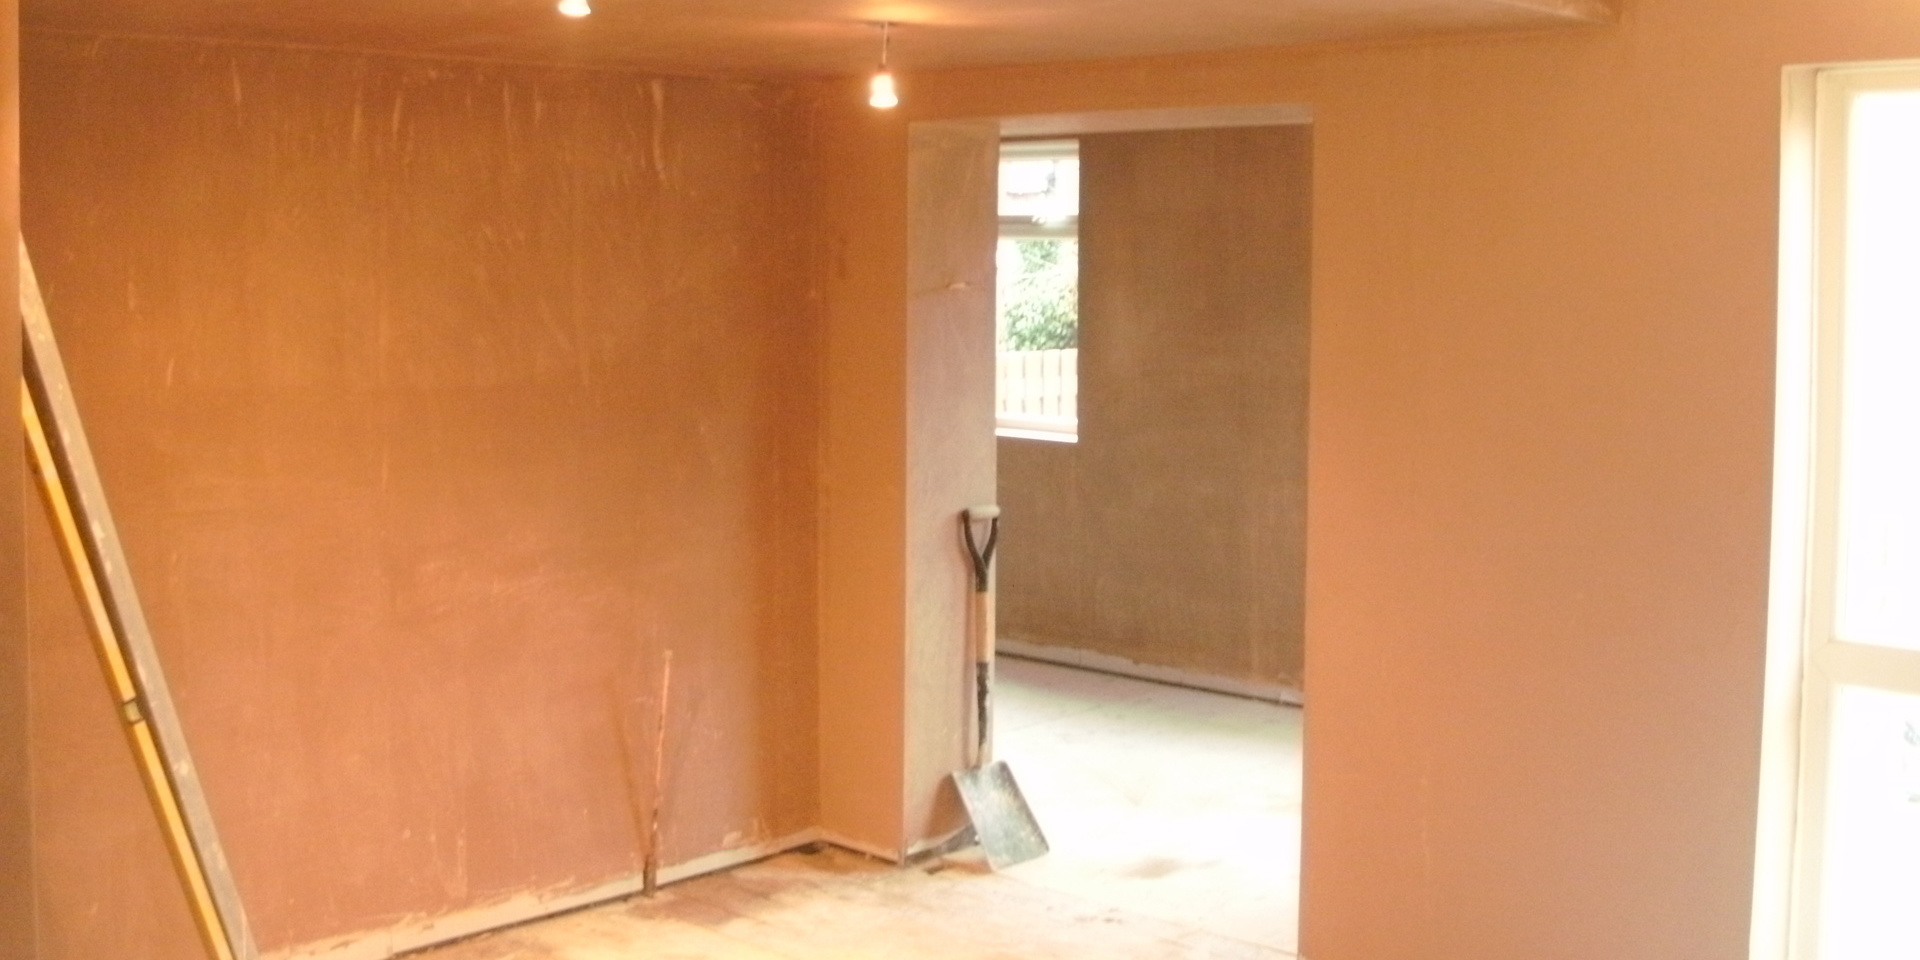
Attaining a smooth and sturdy plaster finish starts with meticulous prep work of the surface areas to be glued. This foundational action is important to making certain adhesion and the long life of the plaster. Beginning by assessing the condition of the substratum-- whether it is drywall, concrete, or masonry-- removing any type of loosened paint, dust, or debris that might hinder bonding.
Following, fix any imperfections such as cracks or openings. Utilize an ideal filler to achieve a level surface; this can be crucial for preventing future issues. As soon as fixed, make certain the surface is clean and completely dry, as wetness can jeopardize plaster adherence.
For porous surfaces, it is advisable to apply a bonding representative. This product enhances attachment and creates a trustworthy user interface between the plaster and substrate. If collaborating with formerly plastered surface areas, it may be needed to scuff or sand the area gently to give a key for the new plaster layer.
Smudging Techniques and Tips
Grasping plastering techniques needs both skill and technique to attain a remarkable coating. One necessary method is the application of the plaster in several slim layers, instead of a solitary thick layer. This technique permits for far better bond and reduces the threat of breaking. Begin with a skim coat, guaranteeing it is evenly spread out and leveled with a hawk and trowel. Make use of a straightedge to look for any type of imperfections prior to proceeding to succeeding layers.
When applying the surface layer, employ a troweling strategy that includes holding the trowel at a minor angle and operating in click to investigate a round activity. This aids to develop a smooth surface area and lowers the look of trowel marks. Furthermore, maintain a spray container of water handy to mist the surface lightly; this keeps the plaster practical and allows for smoother ending up.
Timing is essential; work efficiently, as the plaster starts to set. Once the plaster has firmed up but is still damp, use a wet sponge to gently smooth the surface further. Last but not least, enable sufficient drying out time prior to sanding or painting, guaranteeing your tough job leads to a professional, premium surface.
Typical Mistakes to Stay Clear Of
An additional usual error is applying plaster also thickly. you can check here Excitable applications can result in fracturing and prolonged drying out times. It's necessary to apply plaster in thin, even layers, allowing each layer to dry appropriately before including a lot more.
Furthermore, not utilizing the right devices can hinder the quality of the coating. Making use of improper trowels or mixers can produce incongruities in the smudging process. Always go with high-grade tools created for gluing tasks.
Lastly, numerous people underestimate the relevance of timing. Functioning in improper temperatures or moisture levels can adversely influence plaster healing and drying. It is advisable to examine weather and adjust your routine as necessary.
Finishing Touches for a Specialist Look
The last phases of a plastering project are essential for attaining a sleek, professional appearance. As soon as the plaster has actually dried out completely, the following step is to assess the surface for flaws.
After fining sand, it's suggested to clean the surface area to eliminate any dust and particles. A damp fabric works for this function, adhered to by a thorough drying out duration. If essential, applying a slim layer of ending up plaster can boost the surface even more, providing a seamless surface.
When the completing plaster is completely dry, another round of sanding may be needed to accomplish the wanted smoothness. Finally, take into consideration applying a guide prior to painting or wallpapering, which will enhance bond and sturdiness.
Verdict
Mastering gluing skills substantially boosts the quality of renovation projects. A comprehensive understanding of vital tools, surface area prep work, and web efficient strategies is critical for achieving professional results.
Water and bonding agents play considerable functions in accomplishing correct consistency and adhesion, making sure that the plaster adheres properly to the surface. Plastering.

Additionally, maintain a spray bottle of water useful to mist the surface area lightly; this keeps the plaster workable and permits for smoother ending up. (Plastering)
If needed, using a slim layer of completing plaster can boost the surface even more, supplying a smooth coating.
Report this page